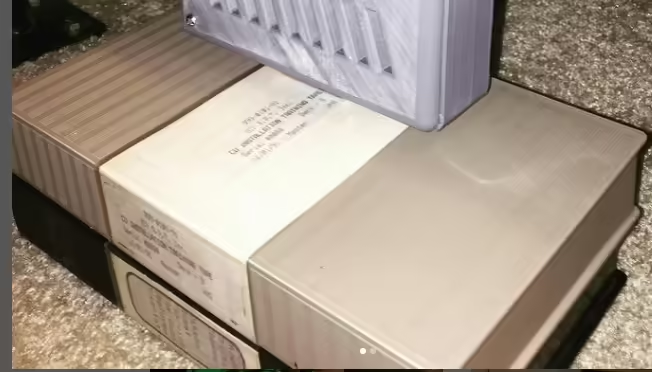
Concept Unification Installation Tape
Used In
Transcript
Narrator:
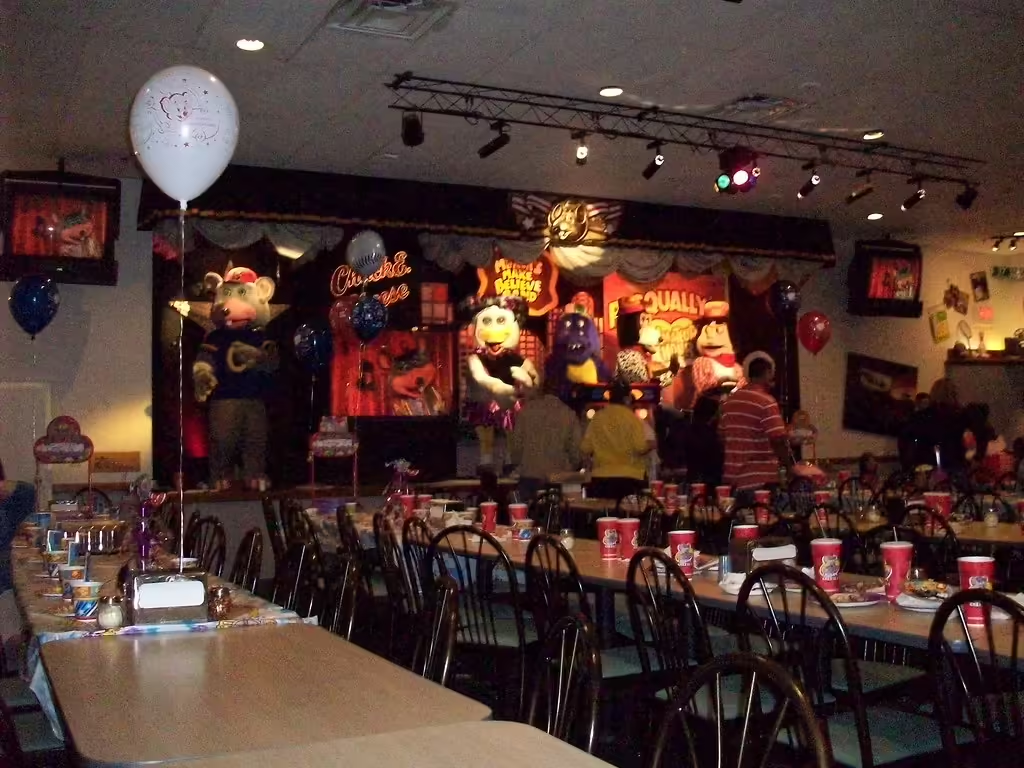
Welcome to the Concept Unification installation tape. The purpose of this tape is to give you a brief overview of the installation process. This tape is meant to supplement the installation manual, not replace it. If you have any questions about measurements or placement, please refer to the manual. The first thing you need to do is play the Rolfe and Earl showtape and make sure everything is operational. Since this is a one stage tape that plays for approximately a week while the conversation is being completed, it is necessary that Rolfe and Earl are in the best working condition possible. This tape must be checked no later than the Wednesday morning prior to the Sunday of which installation will begin. This will give you a few days to correct any problems that may exist with the show. Next you will need to make an appointment to have your Chuck E. Cheese neon sign installed. Call Gordon Townsend at Heath Sign Company at 1-800-527-9495 and make an appointment for the end of the following week. He will make arrangements for someone in your area to come out and install your sign. Make sure this appointment is firm and is set up for early morning. The installation should take approximately an hour to complete. With your prep work now complete, it’s time to begin the installation process. First remove all props such as: Choo Choo’s tree, Billy Bob’s lamp, Billy Bob’s campfire, Looney Bird’s can, all rocks and flowers, and destroy all of these props as they will not be used again. Next, unbolt and remove fatz’s organ from center stage. This prop will be used again. Now find the main airlines that feed the characters and disconnect the quick connect from the oilers for both center stage and stage left. Now remove all cosmetics from the characters starting with Dook. First his hat, then belt, collar, and vest, black vinyl torso, pants, gloves, cuffs, and drum sticks (holding onto the drumsticks as they will be used later), sleeves, mask, ears and ear levers, feet (which need to be unbolted), and the tree bark from around the platform (making sure to remove all remaining staples). Now Choo Choo. First his mask, then take the bolts out and remove bottom half assembly. Next we will do Fatz. Although this picture does not reflect it, if you have removed the organ it will make his cosmetics easier to get off. First do his jacket, hands, mask, leg fur, and feet. Now Beach Bear. Starting with his shorts and guitar strap, upper body fur, hands, mask, leg fur, feet, and then the tree stump base. Now Mitzi. Starting with her sweater, wig, dickie, mask, ears (Not the ear levers), pig tail mount, hands, skirt, shoes, and leg fur. Next will be Billy Bob. First his overalls, then mask, body fur, hands, left foot and foam ankles, and then his right foot which will need to be unbolted. And finally Looney Bird. Remove his mask, plume, and fiberglass skull. If you have enough help you may want to start on both stages at once, for the purpose of this video we will start with stage left. First is Billy Bob, unbolt his Mac valve quick disconnect and push up through the stage. Make sure to cover the quick disconnect with a piece of plastic or a plastic bag to keep dust from getting into the airline. If you will bag and label all parts that come off in order, it will make your life a lot easier once it is time for reassembly. Unbolt Billy Bob and remove from the stage. Now, disconnect the computer line from Billy Bob’s Mac valve. Remove Billy Bob’s Mac valve and hold for spare parts as it will not be used again. Follow the same procedure for Looney Bird by unbolting the mac valve quick disconnect and pushing up through the stage, making sure to cover them with plastic. Then unbolt the character mech and remove from stage. And finally remove Looney’s hand airlines and plus them up. Although not reflected in this picture, your characters should now be off the stage. First, unplug the floor lights and remove. Next, unbolt the entire tree line and remove from stage. Now pull off the canvas backdrop and remove all staples, making sure to leave the 2x4 header in place. Now remove all the carpet from stage left and clean the stage. Remove hinges on Billy Bob’s trapdoor and nail shut. Cut a piece of wood large enough and cover the old fireplace hole in the stage. You can use the old clouds from center stage if you wish. Re-carpet the stage. Make sure to carpet under the curtain motor as well. Find Looney Bird’s trap door and cut the carpet around the edge of the door so that it can be open leaving the carpet on top. Next, using the specifications found in the manual you should find center line for stage left and install the brick wall. The mechs should not be on stage left at this point. Now, moving to center stage, remove the airlines from Choo Choo, unbolt, and remove from the stage. Now Mitzi, unbolt the Mac valve quick disconnect and push up through the stage. Unbolt the character and remove from the stage. Disconnect the computer line from the Mac valve and remove Mitzi’s Mac valve. Unbolt Fatz’s Mac valve quick disconnect, push up through the stage, then unbolt and remove Fatz from the stage. Next is Beach Bear and you will need three people to accomplish this. First unbolt the bolts that connect the body half to the base and run through the surfboard, then lift the body half, remove the surfboard, then reconnect the body half to the base. Then unbolt the Mac valve quick disconnect and push up through the stage, unbolt the character and remove from the stage. Next with Dook. Measure all placements of props on Dook’s platform and remove all props. Do not remove Dook. Then remove grass from Dook’s platform. And then using the airline quick disconnect, disconnect the airline that feeds the oiler on the back of Dook’s platform and the computer line and push up through the stage. Next move Dook’s stage from center stage to stage left and position as shown in the diagram. So that the back corner closet to center line is 12 inches from center line, and the other back corner is 18 and a half inches from the wall. Now, re-carpet the platform. This platform now will be Pasqually’s platform. Replace all props on Pasqually’s platform as per the measurements you took earlier and using finishing nails, nail the front piece of Pasqually’s platform. Now replace the old Looney mech, which is now the camera mech, and bolt down as per the measurements in the manual. Now back to center stage, unplug and remove all floor lights, unbolt and remove both tree lines. Dook’s mech should be gone at this point. Now remove the sun mask, then disconnect the airlines, unbolt and remove mech from stage. Do the same for the moon, disconnect the airlines and unbolt, remove from stage. Finally the sign, unplug the power cord and computer line and unbolt and remove the sign from stage. Next, unscrew the clouds from the ceiling of center stage and remove. Now disconnect the airlines to the spider mech, unbolt and remove the mech. Finally, pull canvas backdrop off the wall and remove all staples, leaving the two by four header in place, remove grass and clean stage. Now measure and mark center line for center stage. Next measure and mark on the floor Helen’s position so that you will have a reference point of where to put the trap door. Now cut a trap door six inches in front of where you marked for Helen as per the diagram, making sure to cut in between two studs in the floor. Next, cut two two by four braces for the trapdoor and screw into place. Then finally put a hinge on the trapdoor. Next, install the fiber optic curtain as per the manual. Re-carpet center stage making sure to cut the carpet around the existing trapdoors so that they will open leaving the carpet on top. Next, reinstall the moon mech as per the diagram in the manual. Next, install building D centered with center line on stage as per the diagram in the manual and screw to the floor. Now building E as per the manual, and screw to the floor. Now building C as per the manual and screw to the floor. Now reinstall the old sun mech which is now the building mech as per the manual and bolt to the floor. Install the fiber optic controller on building D, which is the center building, as per the manual. Reinstall the sign as per the manual and bolt to the floor. Install the building face on the building mech. Unbolt the old sign face and install the new sign face, destroying the old sign face. Also plus power and computer line in for sign. Install building B and building F as per the manual and screw to the floor. Install all floor lights for center stage and aim according to the manual. Install the planter boxes letter A and G as per the manual. We will now start putting characters back on center stage, starting with Jasper, position him as per the manual and bolt down. Cut a two inch hole behind his mech for airlines, push the quick disconnect through the two inch hole, and put the two piece base together according to the manual. Now Munch, position Munch according to the measurements and bolt down. Add a two inch hole behind his left foot for airlines and push the quick disconnect through the two inch hole. Follow the same procedure for Helen, positioning her according to the measurements and bolt down. Cut a two inch hole behind her left foot for airlines, push the quick disconnect through the two inch hole and then put her Mac valve back under stage. And finally Munch junior, which is the old Choo Choo mech position as according to the diagram and bolt down. Now the organ, position according to measurements and bolt down, cut a two inch hole behind the left leg for power and computer lines. Now moving to stage left, install the top border of Pasqually’s brick wall on the two by four header. Next install the individual brick seams that will complete Pasqually’s wall. And finally, install the lights and aim according to the manual and then install the floor border which will hide the lights. Now reconnect all quick disconnects, computer lines, and airlines for both center stage and stage left. Pasqually uses the old Billy Bob computer line Helen will use the old Dook computer line. Next, install the wink and hook up the airlines which would go to the old spider airline. Now we will start putting cosmetics back on starting with stage left, Pasqually. Starting with his pants, then shoes, mask, vest, shirt, apron, bandana, hands and drumsticks. Install the light in the bottom of Pasqually’s kick drum and then install the new front for the kick drum. Next is the camera, first put on the square camera housing and also there is a mouth clevis to be exchanged. Then his mask, and finally the speaker box cover for the camera. Next is Jasper. Now the first thing you want to do with Jasper is to exchange the eyes that are in Rolfe for the eyes that are in Jasper so that Jasper will have brown eyes and Chuck E will have blue eyes. Now starting with the costume, first his hands, also exchange the mouth clevis for Jasper, his mask, hat, shirt, overalls, guitar strap, and shoes. Next exchange the old organ front for the new organ front, making sure to destroy the old organ front. Next is Munch. Starting with his hands, then mask, cap, body fur, and feet. Next is Helen. Starting with her hands, then mask, feather pig tails, blouse with fur sleeves, foam leg pieces and shoes, and finally skirt. And junior Munch which is just his mask and round vent cover. Moving to the Rolfe and Earl stage, this should be the very last night of the installation process. Prepare for this night as it will be a long one and everything should be up and operational by morning. First start with Earl, then vest, shirt, mask, bottom half fur, then feet and left hand. Although not reflected in this picture, all cosmetics should be off of Rolfe and Earl. First remove the rainbow, applause sign, rainbow curtain, cymbal, and all floor lights. Next unbolt the Mac valve quick disconnect, push up through the floor, then unbolt the character and remove. Next remove and grass from stage right and clean. Make sure to mark center line for stage right, then paint the two by four header black. Now re-carpet stage right and make sure to cut around existing trapdoors. Now hang black rain curtains on the two by four header. Attach all pieces on the backside of the star according to the manual such as the base for the star, the back mounting bracket, and lights for the back of the star. Next measure the placement of the star from center line according to the manual, and using the back mounting bracket, attach it to the wall. Next, measure Chuck E according to the manual and bolt him down. Cut a two inch hole behind his left leg, push the quick disconnect through the two inch hole and reconnect the Mac valve quick disconnect. Next lay the big screen TV on its back and remove the casters. Then put up on stage and position. Now plug in all the lights for the star and the tv according to the manual. Now remove the old right arm assembly from Rolfe and attach the new right arm assembly for Chuck E. It is time now to costume Chuck E, starting with the hands and ears, mask and hat, cummerbund vest combination, bottom half fur with suspenders, jacket, base, and feet. Finally install the big screen facade which will have a bottom part and a top part and then make sure to plug in the top light. Remove your spotlight number seven from the spotlight bar and hold for spare parts as it will not be used again. Reposition spots five and six according to the manual. Install your helicopter light according to the manual. Now in the control room make sure the computer is powered down, take off the top and replace the old eep-rom with the new 3.3 eep-rom, hook up your video line to the big screen, and hook up your computer cables between characters and grey box according to the manual. Re-aim and re-size all spots for the new positions of the characters, making sure to use Mitzi’s old spot for the wink and the spiders old spot for Munch Junior. Adjust the high end of the dual pressure regulator down to seventy pounds. And finally, VCR adjust the show to get correct character movement. If the Chuck E. Cheese neon sign has not yet been installed, it will need to be done at this point. The overall position and look of your stage should resemble these freeze frames.
Search for: "Concept Unification Installation Tape" on the forums!
