
Cyberamic Clippard Valve Maintenance
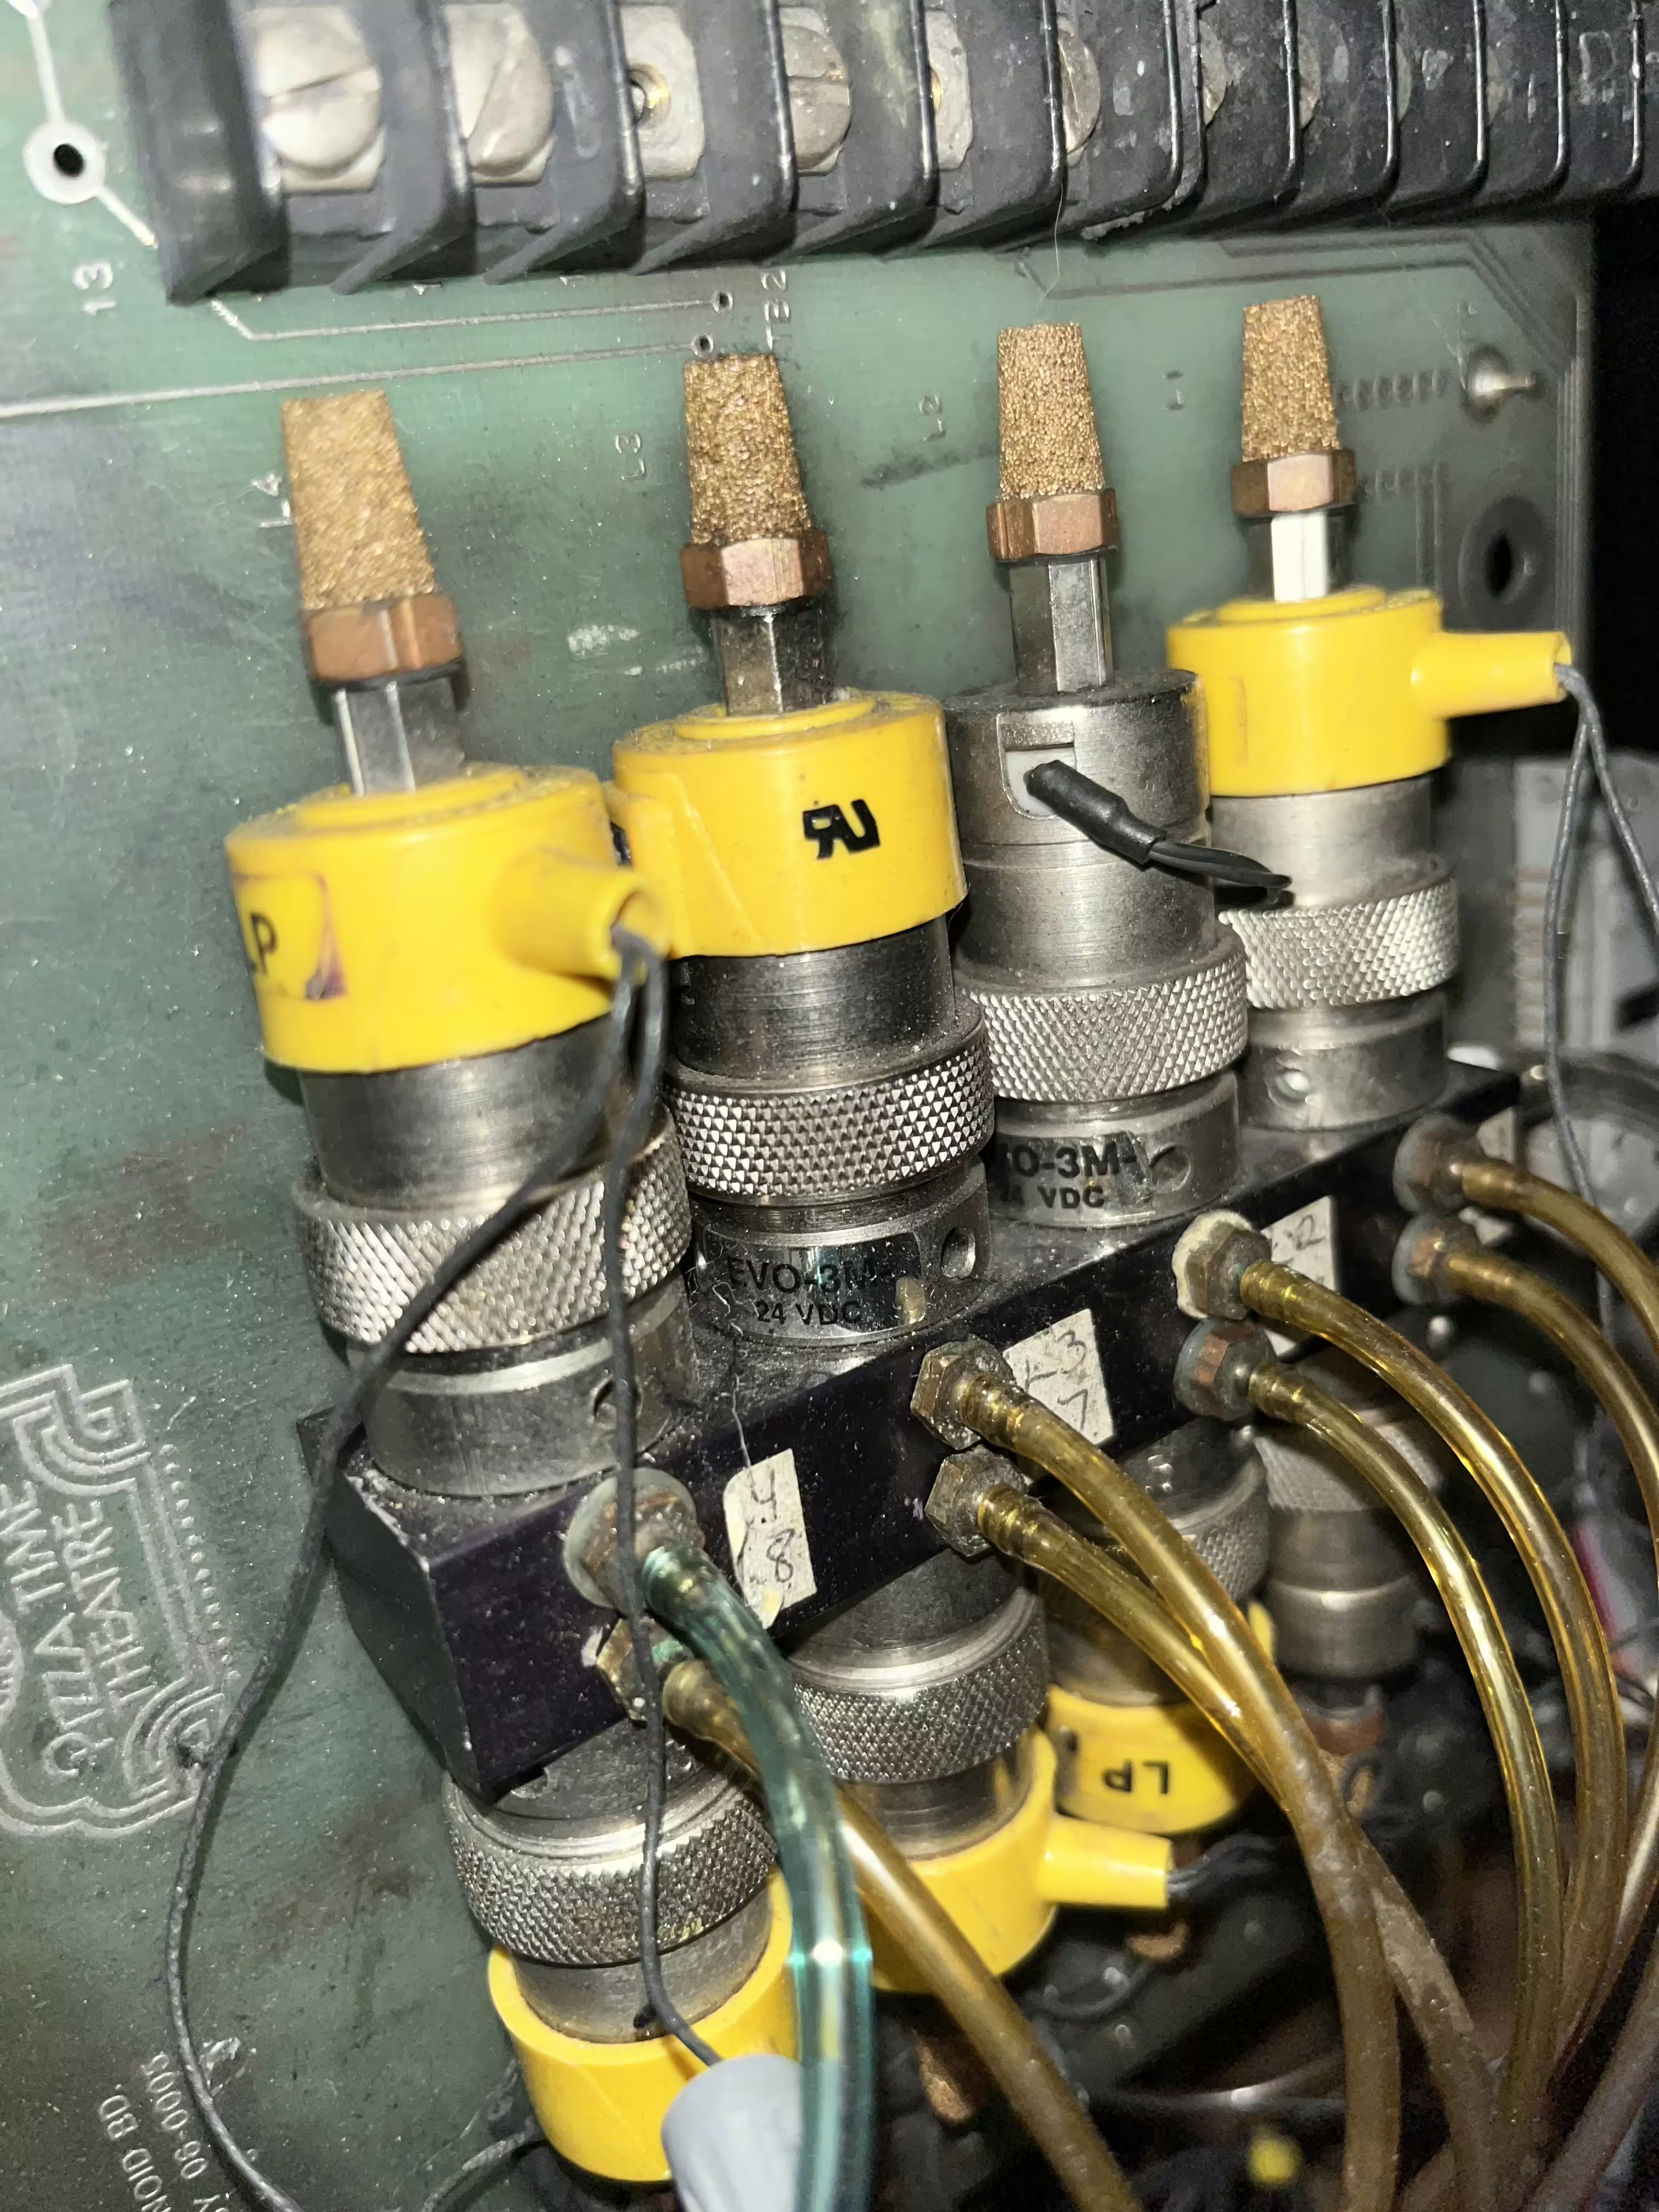
Cyberamics manufactured by Pizza Time Theatre, Inc came with valves from Clippard, specifically the Clippard EVO-3M-24 3-Way Elec. Valve. Each animatronic has a pair of 8 valves on their board, identified by their bright yellow cap.
Purchasing New Valves
This valve, as of 2023, can be found for around $20-40 each from various venders and resellers.[1] Clippard is also still producing these valves and can be bought directly from them.[2]
Identifying Bad Valves
- Connect the valves up to air and have 28 PSI of air going into the valves.
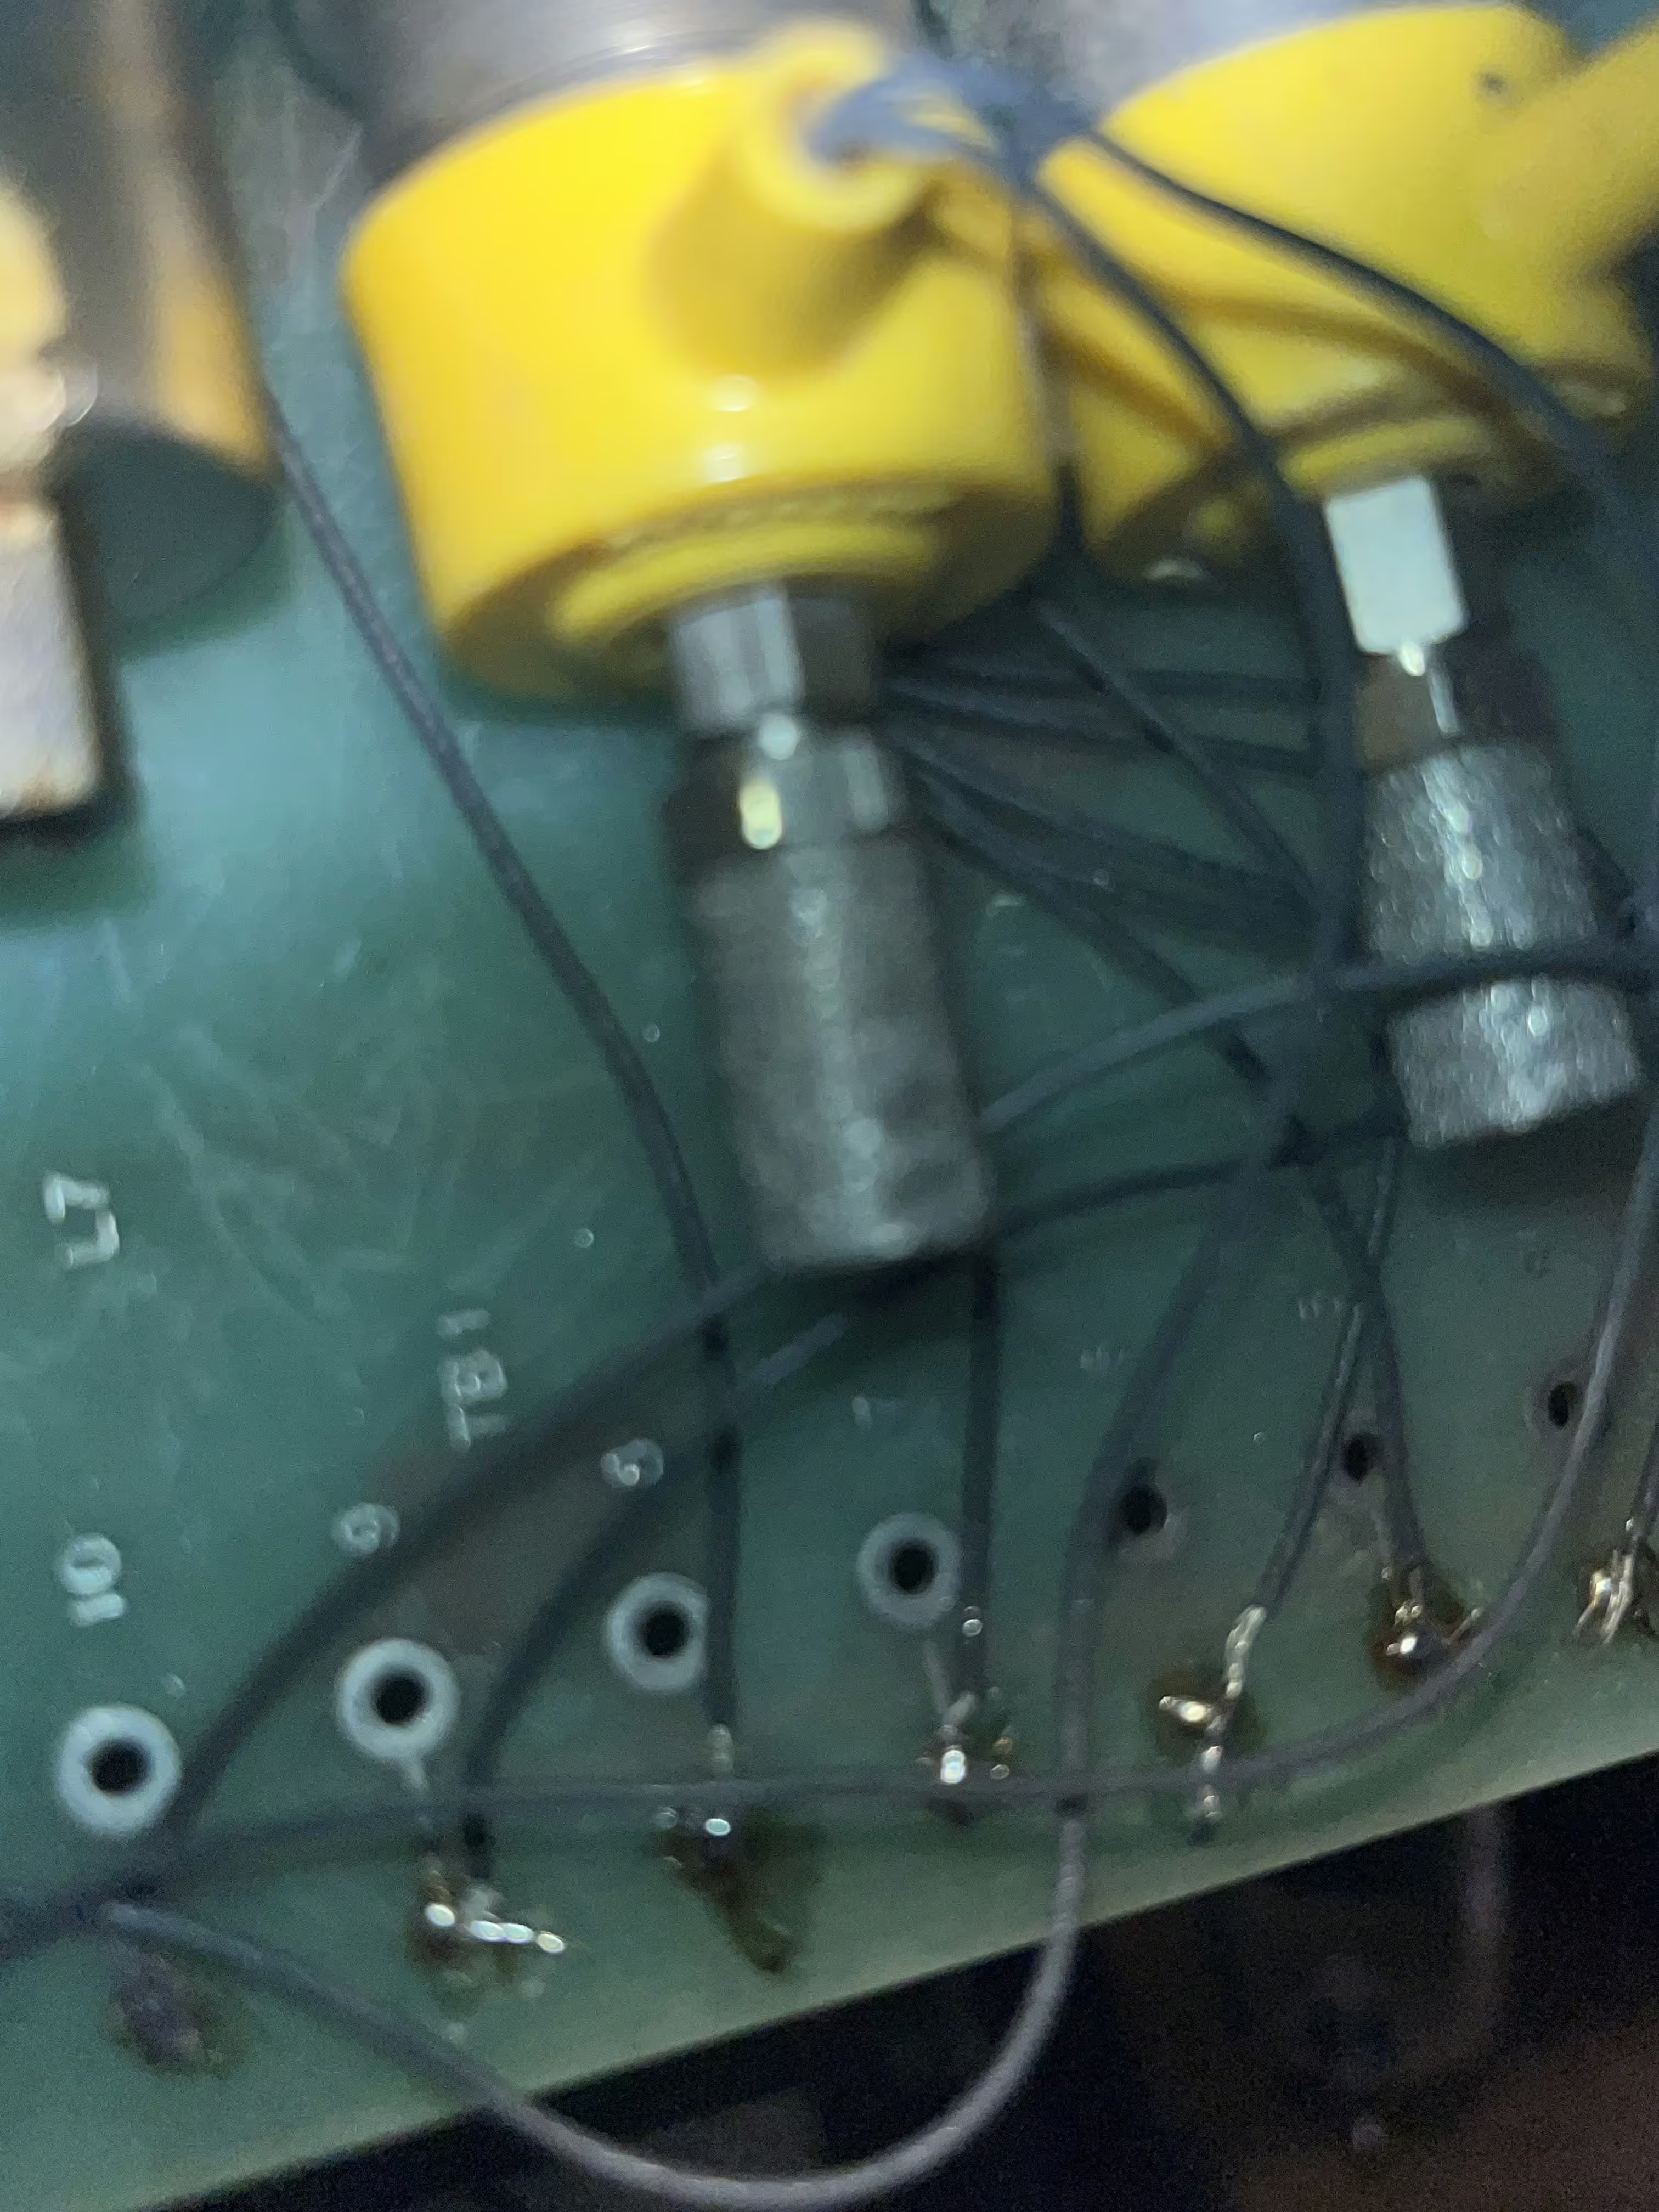
- Track the wires of the valves you wish to test down to the bottom of the valve board and apply 24V DC to the valves.
- If the valve is not making a clicking sound, it is most likely dead. However if the valve is releasing a small amount of air, or staying activated after power is removed, it may just be a clogged valve.
Valve Clogging
There’s two different reasons that could cause a valve to be clogged:
- The exhaust at the top of the valve isn’t able to release.
- Remove the muffler from the top of the valve.
- Clean the inside with a cotton swab.
- The internals of the valve may be clogged.
- The valve will need to be opened. Twist the silver ring that goes around the valve to the left and hold the top of the valve in place.
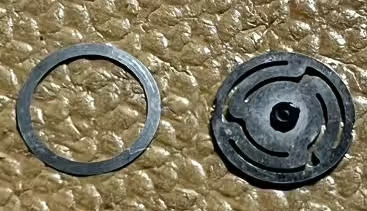
- Remove the thin silver ring and thin disc on the inside of the valve.
- Clear the inside with a paper towel.
- Place the silver ring back into the valve, followed by the disc. Make sure the bump on the bottom of the disc is facing down when reinstalling.
- Close up the valve by tightly turning the ring to the right.
If the valve is still releasing a small amount of air even after these fixes, then the valve is going bad, and will need to be replaced.
Replacing a Valve
- The valve will need to be opened. Twist the silver ring that goes around the valve to the left and hold the top of the valve in place.
- Remove the thin silver ring and thin disc on the inside of the valve. Hold onto them as they will be reused.
- Clear the inside with a paper towel.
- Follow the wires for the valve down to the bottom of the valve board and remove them.
- Place the silver ring back into the valve, followed by the disc. Make sure the bump on the bottom of the disc is facing down when reinstalling.
- Replace the old valve with the new one.
- Close up the valve by tightly turning the ring to the right.
- Solder the two wires to the board in place of where the old valve was.
- Transfer the muffler from the old valve over to the new valve.
Replacing a Valve Seal
Sometimes near the bottom of a valve, the seal may go bad and begin to leak.
- The valve will need to be opened. Twist the silver ring that goes around the valve to the left and hold the top of the valve in place.
- Remove the thin silver ring and thin disc on the inside of the valve. Hold onto them as they will be reused.
- Clear the inside with a paper towel.
- Unscrew the valve’s mount. The mount may get stuck from years of use, so use one of the three holes as a grip to pry the mount out.
- Use a thin tool to remove the rubber O-Ring from the bottom.
- Replace the O-Ring with a new one. Most standard O-Ring kits come with the correct size needed.
- Use an O-Ring lubricant to ensure the O-Ring does not get pinched against the manifold.
- Screw the valve mount back in.
- Place the silver ring back into the valve, followed by the disc. Make sure the bump on the bottom of the disc is facing down when reinstalling.
- Close up the valve by tightly turning the ring to the right.
Run the valve with air to ensure the seal doesn’t have any further leaks, and that the process was completed successfully.

Numbered in the order they appear. Reference in article text with .
Fields here update the page's metadata. All saves go through a pull request for review.
Location-specific fields: store info, coordinates, animatronics, remodels, stages, etc.
Showtape-specific fields.
Product-specific fields: pricing, sales records, manufacturer info.